Choosing a Plan and Signing Up
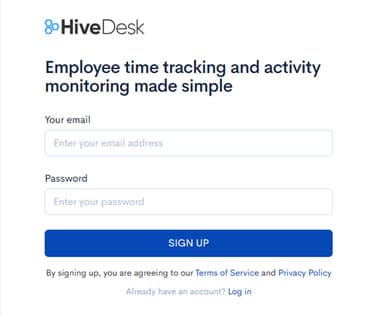
Start by clicking on the Free Trial button in the top navigation menu.
Enter your business email, select a password and click the Sign Up button to start your 14-day free trial.
You'll be asked some questions about how you plan to use HiveDesk so we can help you get the most out of it.
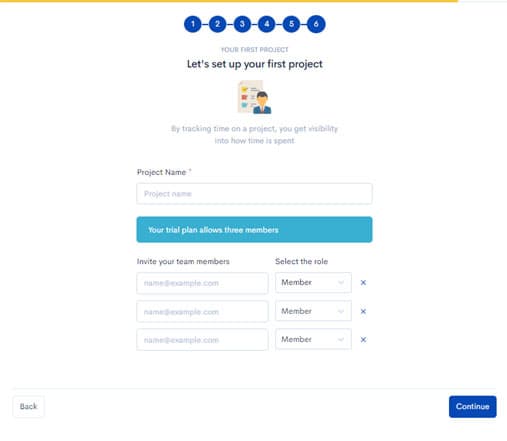
After you've answered these questions, you'll be ready to set up your first project and invite team members. Enter a project name and email ids of up to three members. We'll send them an invitation on your behalf to start using HiveDesk.
Your first project is created and you're given a walkthrough of the user interface. You're now ready to start using HiveDesk.
Logging into HiveDesk Web Application
Click the Log In button in the top navigation menu or go directly to the login page: https://app.hivedesk.com/login
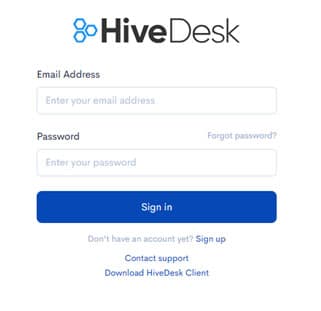
Enter your email and password to log into the web application.
Getting Started with HiveDesk
The Dashboard is the first page you see when you log into the HiveDesk portal. You'll see the status of your projects and tasks.
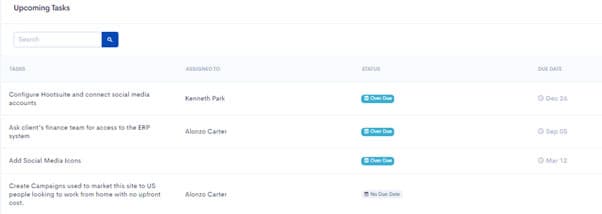
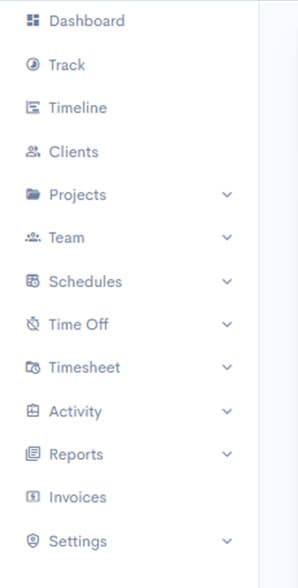
Use the left-hand navigation column to go to any section of the portal.
Adding Clients
If you work on client projects, whether internal or external, you can use the Clients feature to organize your projects. Keep in mind that it's not mandatory to add a client to start tracking time with HiveDesk. This feature is for businesses like agencies that want to track work by client.
To add a new client, click Clients from the left-hand navigation column.
You'll see a list of existing clients. Click the Add New Client button to get started.

Enter the Client name and other details. If you plan to use the invoicing feature, it's a good idea to add the client's Tax/VAT Number now.
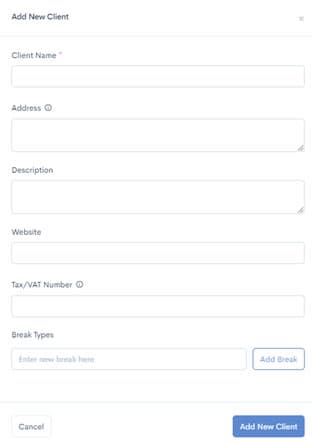
Click the Add New Client button to add the client.
Creating Projects and Inviting Team Members
You need to create a project and add team members to start tracking their time. You can also create tasks under projects and assign them to team members for more granular time tracking at the task level.
Your first project is created when you sign up for the free trial. You can continue to use that project or create new ones.
To create a new project, click Projects → Active from the left-hand navigation column.
You'll see a list of all active projects. Click the Create Project button in the top right-hand corner. Creating a project is a three-step process:
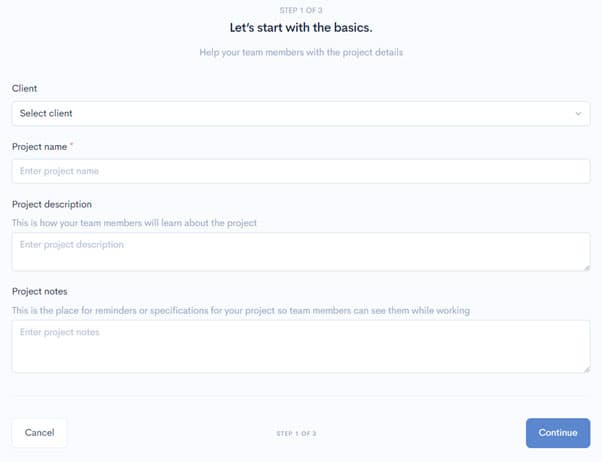
Step 1 — Basic Information
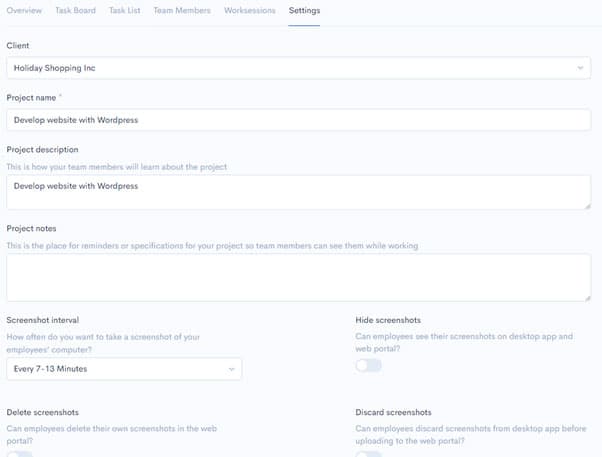
Enter the Project name, Description, and Notes. You can select the client from the Client dropdown if you want to attach this project to a client.
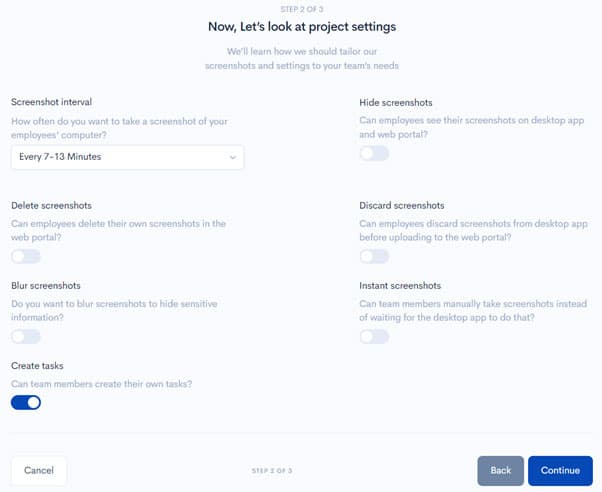
Step 2 — Screenshot Settings
Choose project settings for taking screenshots of employees' computers. Screenshots are taken at random intervals to prevent gaming. The most important setting is the Screenshot interval — it determines how frequently screenshots will be taken.
Step 3 — Add Team Members
Add employees who are already active on other projects, or invite new ones by entering their email ids. You can also add employee groups if you've created them.
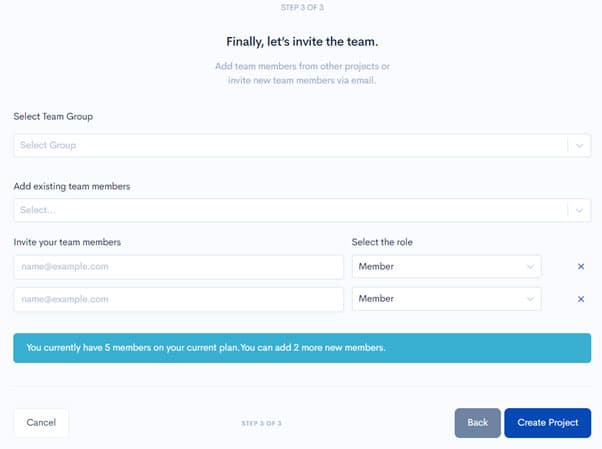
Click the Create Project button to finish.
After this, team members will receive an invitation email from HiveDesk. They'll need to click the link to join your project on the HiveDesk web portal.
Once they've joined, team members can start tracking their time using:
- Desktop client app
- Web app
- Chrome extension
When a team member submits tracked time, it's stored as a worksession in the HiveDesk web portal.
Managing Projects
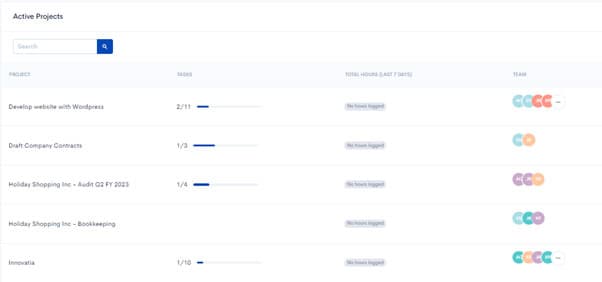
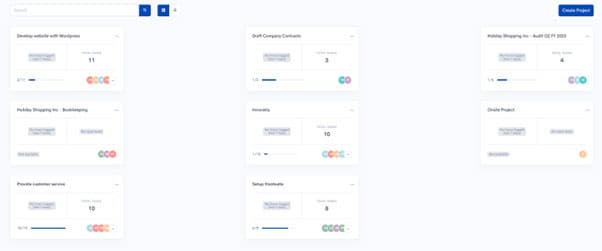
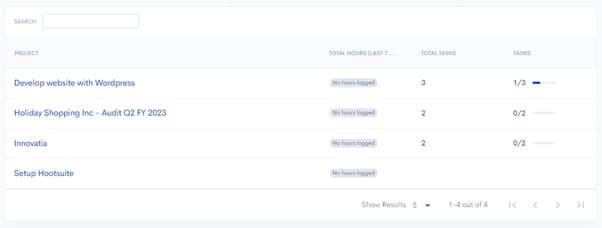
To manage an existing project, click Projects → Active from the left-hand navigation. You'll see a list of all active projects.
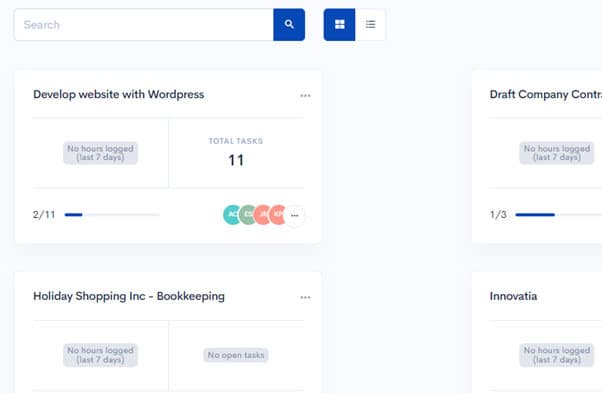
Each project card shows the total hours logged, the number of tasks (and how many are completed), and the team members assigned to the project.
Click a project card to see detailed information and change settings. The project detail view has several tabs:
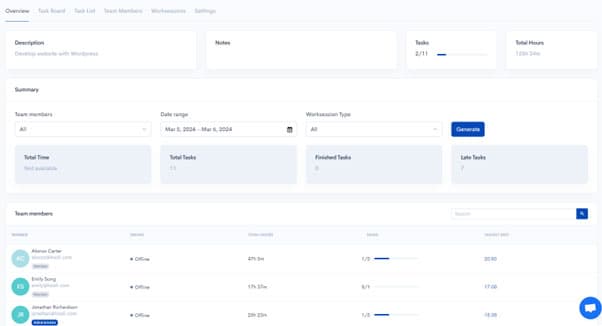
Overview Tab
Your project's dashboard with key metrics.
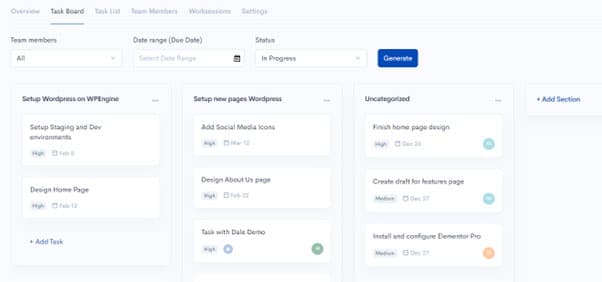
Task Board Tab
A Kanban board of tasks organized by sections. You can add new sections and tasks from here.
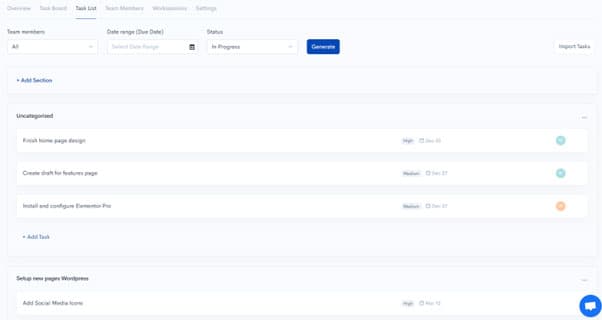
Task List Tab
The same tasks displayed as a list, grouped by sections.
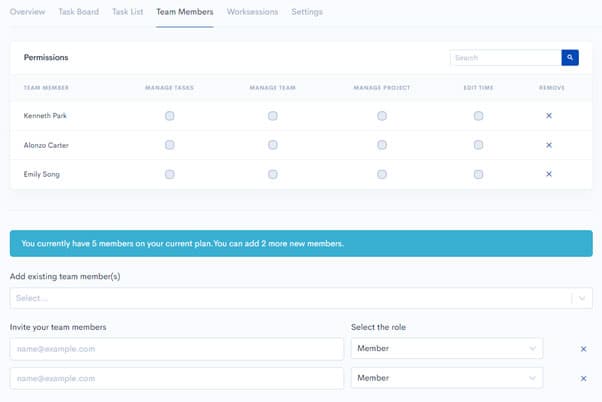
Team Members Tab
View and manage people assigned to the project. You can control permissions for each member:
- Manage tasks
- Manage team
- Manage project
- Edit time
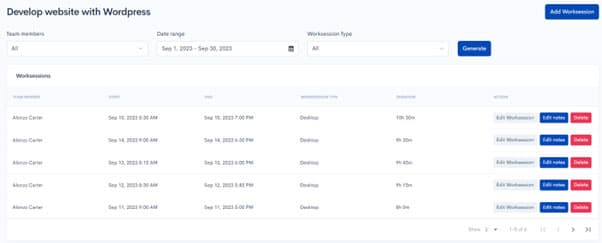
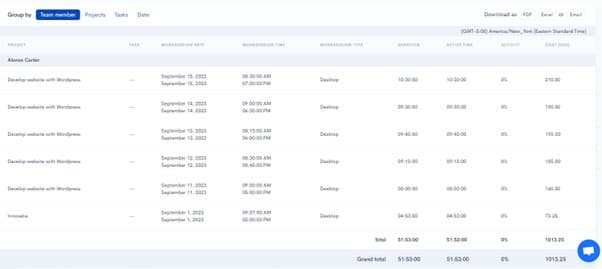
Worksessions Tab
View team members' tracked worksessions. Select a Team member and Date range, then click Generate.
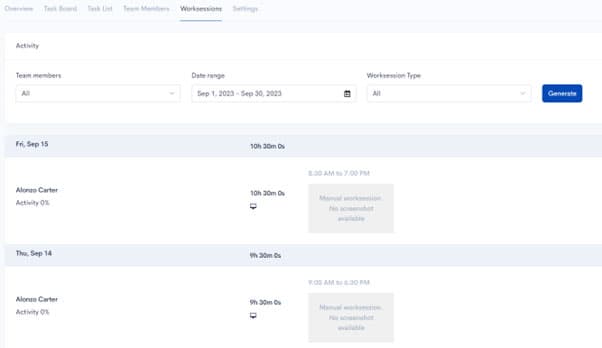
You can also edit worksessions by clicking Edit Worksession in the top right corner. From here you can edit, delete, or add new worksessions.
Settings Tab
View and modify project settings.
Managing Team Members
Team members are your employees or contractors who work on projects and whose time you want to track. You can add them while creating a project or from the Team page.
Click Team → Active Members to manage your active team members.
Billing note: You are billed for the number of active team members in your account. If someone is no longer working on any project, make them inactive to free up seats.

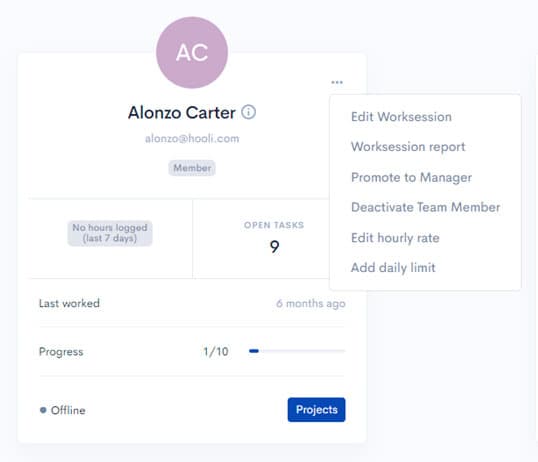
The Active Members page shows a snapshot of each member: their name, email, hours worked in the last seven days, and open tasks assigned.
Click the blue Projects button to see which projects a person is working on.
Click the three dots (...) on a member's card to access additional options:
- View worksessions
- Promote/demote in the project
- Deactivate the person
- Set an hourly rate for cost tracking and billing
- Set a daily hour limit
Managing Team Groups
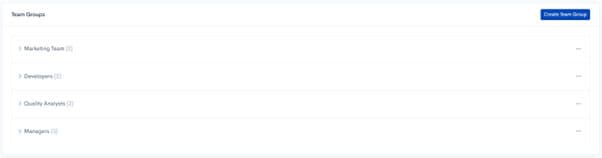
Team Groups let you organize team members into functional teams for easy project assignment. For example, create a Marketing group for your marketing department. Then add the entire group to a project instead of adding each person individually.
Click Team Groups in the left-hand navigation to create and manage groups.
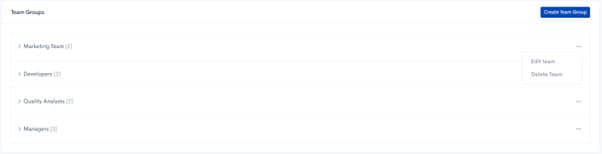
To edit an existing group, click the three dots next to the group name, then click Edit team.
In the Edit Team Group dialog, you can add or remove team members.
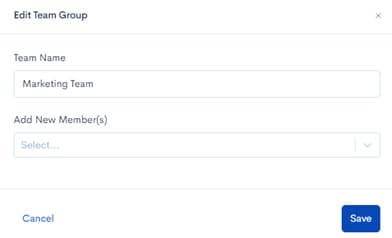
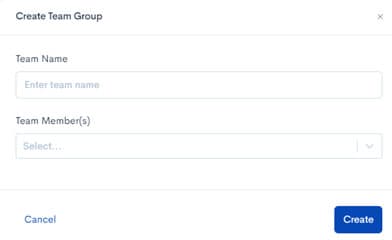
To create a new group, click Create Team Group. Enter a group name, select the team members, and click Create.
Creating and Managing Schedules, Shifts, and Holidays
You can create employee schedules to ensure everyone knows when they're expected to work. This is especially useful for businesses with shift work.
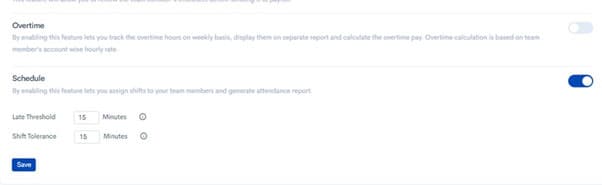
To enable the Schedules feature:
- Log in to the HiveDesk web app
- Click Settings → General
- Toggle the Schedule switch to On
Creating and Managing Schedules
Click Schedules → Shifts to see and create employee schedules.

Select a team member and project to view their schedule. Click the Actions button to create a new schedule, edit a shift name, or add a holiday.

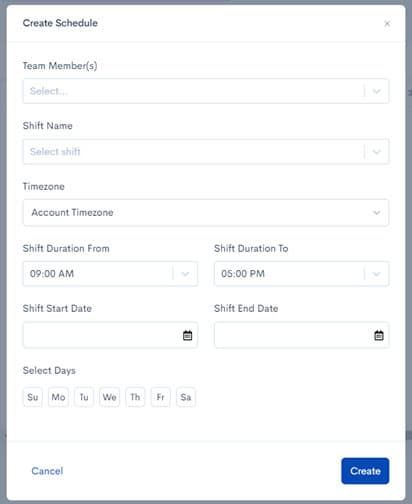
To create a new schedule:
- Click Actions → Create schedule
- Select team members in the dialog
- Click Shift Name → Add New Shift Name — enter the shift name and timings, then click Update
- Select the Timezone, Start/End dates, and days of the week
- Click Create
You'll be back to the calendar page with the new schedule visible.
Adding and Managing Holidays
Click Schedules → Holidays to see the list of holidays.
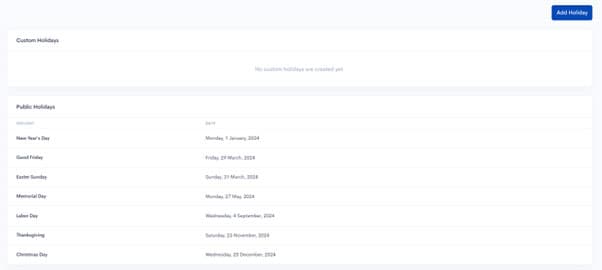
Click Add Holiday, enter the holiday name and date, then click Add.
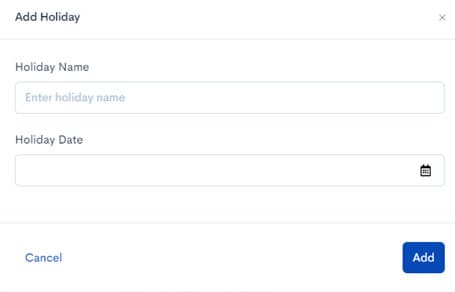
Once added, you can include the holiday in schedules to ensure eligible employees receive the benefit.
Tracking Employee Attendance
Click Schedules → Attendance to navigate to the attendance page.
Select the employee name and time period, then click Generate to produce an attendance report.

Managing Time Off
HiveDesk gives you granular control over the entire time-off process — from setting up policies to approving requests.
Three things work together to enable the time off feature:
- Leave types — The kinds of time off you offer (paid time off, sick leave, comp off, etc.)
- Policies — Rules controlling eligibility and entitlement for each leave type
- Request management — Employees submit requests; managers approve or reject them
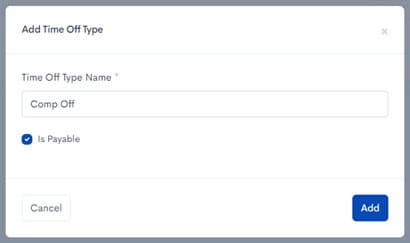
Setting Up Leave Types
Click Time off → Types to manage leave types.
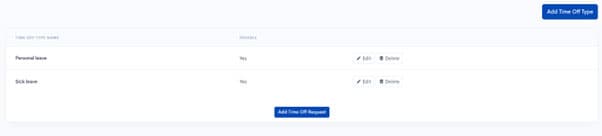
Click Add Time Off Type. Enter a name and check Is Payable if it's a paid leave.
Creating a Leave Policy
Click Time off → Policy. Click Add New Policy.
Enter the policy name, the number of time offs per year, and whether unused leaves carry over to the next year.
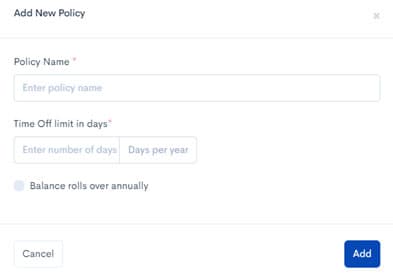
Click Add to save the policy.
Handling Time Off Requests
Team members can submit requests by navigating to Time off → Requests and clicking Add Time Off Request.
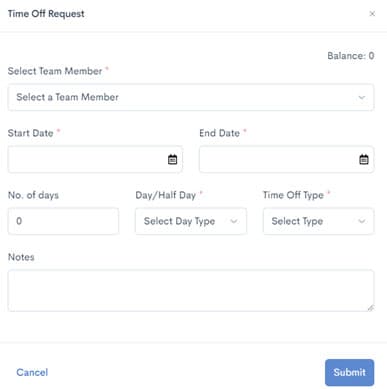
Once submitted, a manager or account owner can view and approve the request.
Managing Timesheets
HiveDesk automatically generates timesheets from the time tracked by employees. You can also enable a timesheet approval process to have managers review timesheets before payroll and invoicing.
To enable approval, click Settings → General and toggle Timesheet Approval to ON.

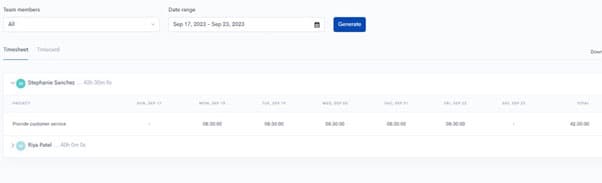
To view timesheets, click Timesheets → Detailed timesheet or Summarized timesheet.

Select the employee, project, and time period, then click Generate.
Using the Timesheet Approval Process
With approval enabled, employees submit timesheets for review. They can withdraw a submitted timesheet to make corrections, but cannot edit it while it's pending approval.
You'll receive a notification when a timesheet is waiting. To approve:
- Click Timesheets → Approval
- Select the team member and date range
- Click Generate to view the timesheet
You can then:
- Approve the timesheet (locks it permanently)
- Edit the timesheet before approving
- Reject with comments (returns it to the employee for corrections)
Creating Invoices
You can create invoices from approved timesheets. First, enable the invoicing feature:
- Go to Settings → General
- Toggle Invoice to ON
- Enter your company name, address, tax id, and logo
Click Invoice in the left-hand navigation to see existing invoices.
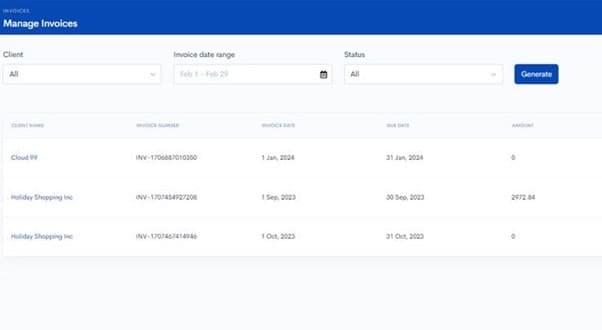
Click Create Invoice to start a new one.
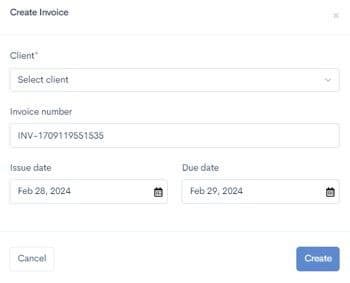
Select the Client, adjust the Invoice Number if needed, set the Create date and Due date, then click Create.
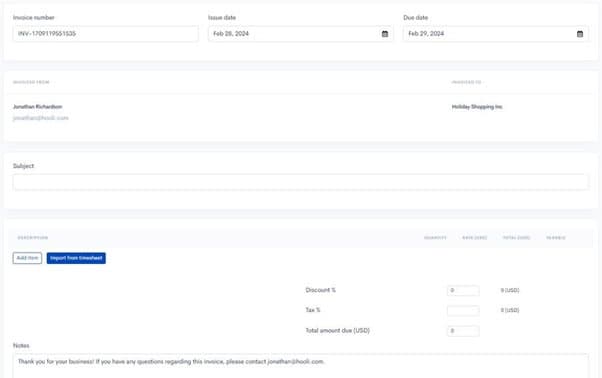
You'll see a draft invoice. Add line items manually or automatically by importing from a timesheet.
Click Import from timesheet to pull in timesheet data:
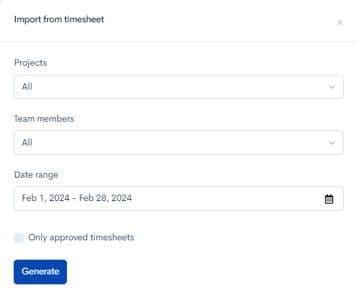
- Select the Project and Team members
- Choose the Date range
- Click Generate to preview, then Add to invoice
Finally, add Discount and Tax rate to calculate the final amount. Click Save.
Questions? We'll put you on the right path.
We have answers to frequently asked questions specific to the Admin. Check out our FAQs to learn more.