Creating Your Team Member Account
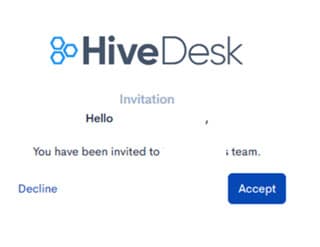
Your company's account administrator or a manager will send you an email invitation to join as a team member. The email contains a link to accept the invitation and create your HiveDesk account.
If you already have a HiveDesk user account, you'll just need to accept the invitation to join the new company's account/project.
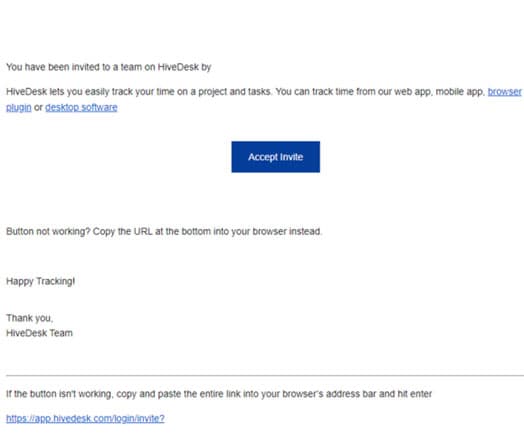
The link will open in a new browser tab. Click the Accept button to start creating your account.
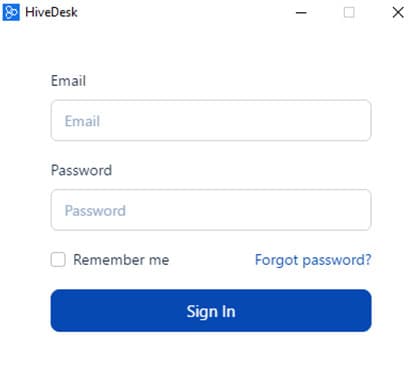
You'll be taken to the login page. Enter your email and password to get started if you already have an account.
If you don't have an account, you'll be taken to a new account sign up page. Enter your email id and a password to get started.
Installing the HiveDesk Application
There are multiple ways to record time in HiveDesk:
- Desktop client
- Chrome browser extension
- Web app
- Mobile app
Installing the Desktop Client
Click the Download HiveDesk client link under Product in the Footer menu on the HiveDesk website or go to the download page.
You'll see the option to download the desktop client for your system. We support Windows, Mac, and Linux operating systems. Click the download button that's appropriate for your computer and save the file.
Installing on Windows Machines
Double click on the file you saved on your computer to start the installation process. Click the Yes button to allow the app to make changes to your device. You'll now see a dialog box to select the installation location.
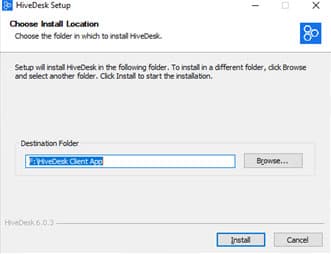
Select the Drive and Folder where you want to install the application and click Install.
Click the Finish button once the setup is complete.

Installing the Chrome Extension
Go to the download page and click the Chrome extension link to go to the Chrome Store and install the extension.
Installing Mobile Apps
Go to the download page and click the link to install the mobile app from the App Store.
Using the Web App
You don't need to install any application if you want to track time directly from the web app. Just log into the HiveDesk portal and click the web tracker to start the web app.
Tracking Your Time with HiveDesk
You can use the desktop client, mobile app, Chrome extension or the web app to record time and track your work. Let's see how to use each of these options.
Tracking Time with the Desktop Client
Start the desktop client when you start your work.
Log in using your email and password. You'll see a list of projects you're a part of. Click the Play button for the project to start tracking your time.
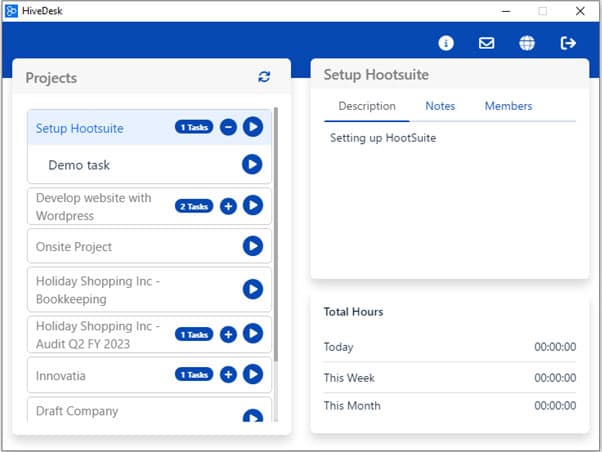
You can also record the time against tasks assigned to you. To do that, click the + button for the project to see a list of tasks assigned to you. Click the Play button for the task to start tracking time for the task.
HiveDesk starts tracking time. You can see the clock ticking in the top right-hand corner of the app screen.
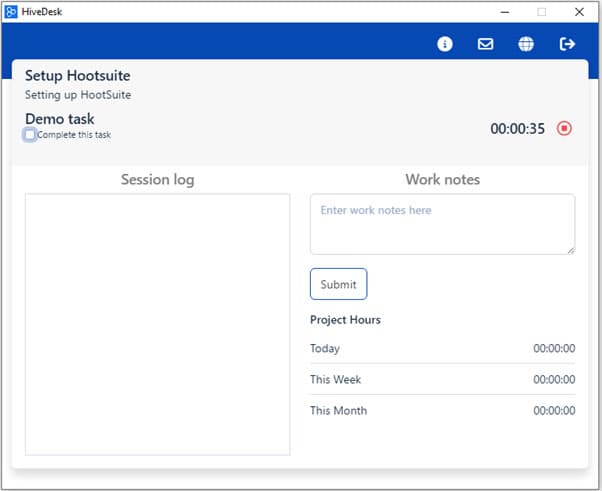
Click the red Stop button to stop tracking time when taking a break from work. Click the Submit button to log the time in the server.
You can also enter notes in the Work Notes section before submitting the time log. Select the check box Complete this task under the task name to mark the current task as complete.
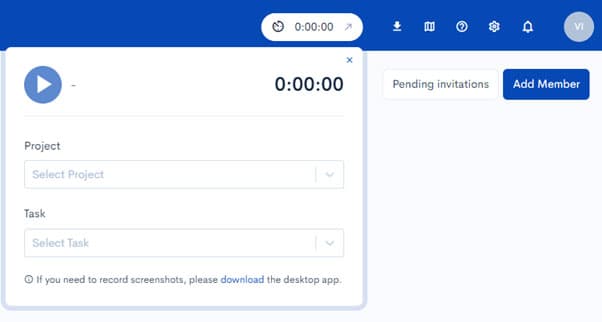
Tracking Time with the Web App
Log into HiveDesk web portal at https://app.hivedesk.com/login.
You'll see a timer in the top blue strip. Click inside the timer to open the time tracker.
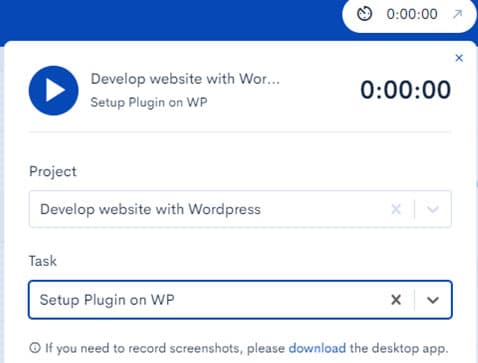
Select the project and task for which you want to track time and click the Play button to start tracking time. The Play button will turn into the Stop button. Click it when you want to stop tracking time for the current project and task.
Tracking Time with the Chrome Extension
Click the Puzzle icon in your Chrome browser to display a list of available Chrome extensions. You'll see the HiveDesk extension in the list. Click the extension name to open it. You'll see the login dialog box.
Enter your email and password to log in.
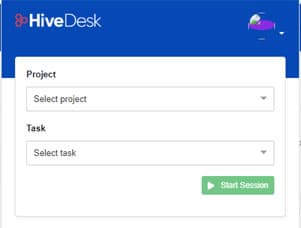
Select project name, task name, and click the Start Session button to start tracking your time. Just like the desktop app, you can also add work notes when using the Chrome extension.
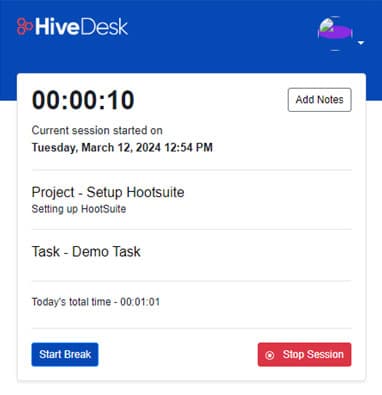
To stop tracking, click the Stop Session button. You can also add a break time to your session log by clicking the Start Break button. This is useful when you need to record the break times separately from work hours.
Tracking Time with the Mobile App
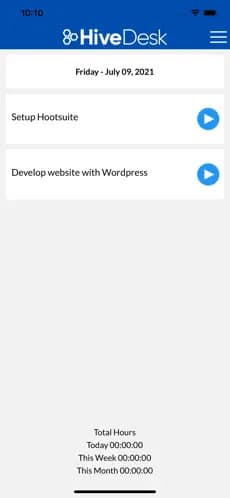
Start the HiveDesk app on your mobile device. You'll see the login dialog box. Enter your email and password to log in. You'll now see a list of your projects. Click the Play button for the project you are working on to start tracking time.
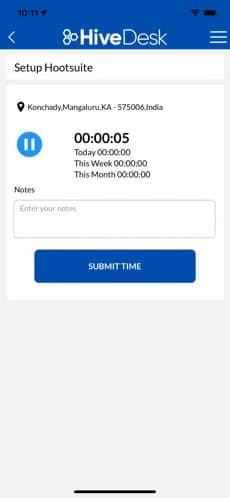
Click the Pause button to stop tracking time. Click the Submit button to log time.
Comparison Between Time Tracking Options
While you can track time accurately using any of the options described here, each has its advantages and limitations:
| Desktop Client | Chrome Extension | Web App | Mobile App | |
|---|---|---|---|---|
| Track Time | Yes | Yes | Yes | Yes |
| Add Notes | Yes | Yes | No | Yes |
| Take Screenshots | Yes | Yes | No | No |
| Requires Installation | Yes | Yes | No | Yes |
| Break Time | No | Yes | No | No |
| GPS Location | No | No | No | Yes |
Viewing and Submitting Timesheets
You can view your timesheet by navigating to View under Timesheet in the left-hand navigation column. You'll see all timesheets that you have not submitted for approval.
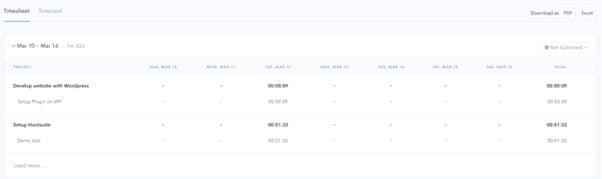
You can see how many hours you worked on each day of the week in the timesheet.
If you find everything fine with the timesheet, you can submit it for approval. When you do that, your manager will get notified that you have submitted your timesheet.
The manager will then review and approve or reject the timesheet. Once approved, the timesheet will be used for processing payroll and billing clients, if applicable. So be 100% sure that you're submitting the correct hours in the timesheet.
Please note that you'll not be able to make any changes to the timesheet once you submit it for approval.
To submit your timesheet for approval, click the Not Submitted button in the top right-hand corner of the page.
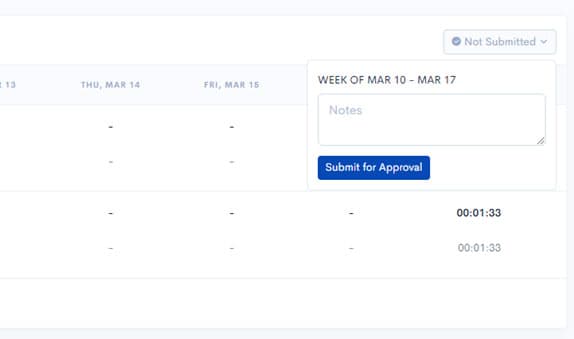
The submit dialog box will open. Enter any notes if you want to communicate anything about the timesheet to your manager. Click Submit for Approval button to submit the timesheet.
Viewing Detailed Timesheet
Click Detailed timesheet under Timesheet in the left-hand navigation column. You'll see your detailed timesheet for the current period. By default, you'll see the timesheet for all projects you have worked on in the reporting period.
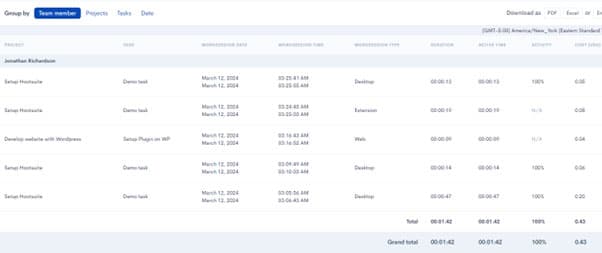
You can change the view to see your timesheet by projects by selecting the Projects tab. Select a different time period from the Date range picker if you want to see the timesheet for a previous time period.
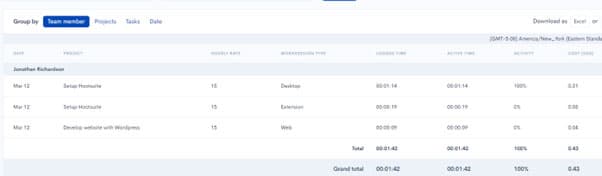
The Summarized timesheet shows you the timesheet in a more compact form. It leaves out some details to simplify the timesheet.
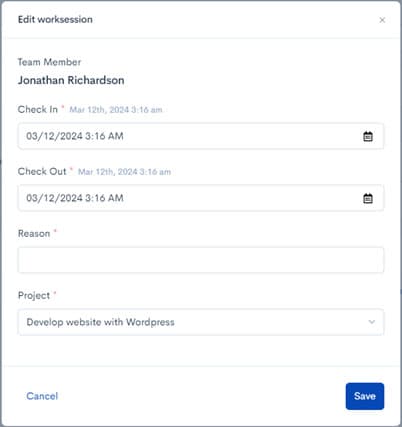
Editing Worksessions
If your company allows it, you can edit your worksessions. You can edit date, number of work hours tracked, and project name. However, exercise utmost care when editing tracked time to maintain the integrity of your timesheet.
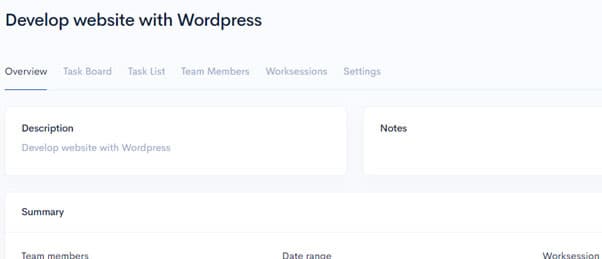
To do that, log into the HiveDesk web portal and navigate to Active under Projects in the left-hand navigation column.
Click on the project for which you need to edit the time. You'll see the project overview.
Click the Worksessions tab. Click the Edit Worksession button in the top right-hand corner. You'll see the recent worksessions.
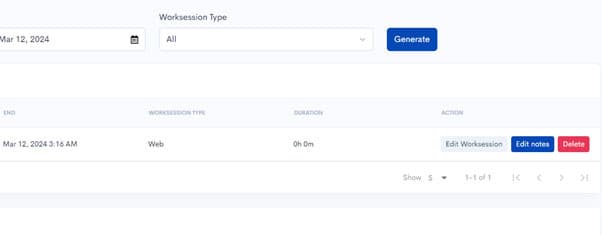
Click the Edit worksession button for the worksession you want to edit. In the Edit worksession dialog box, make the required changes and click Save.
Applying for Time Off
HiveDesk is more than just a time tracker. Companies use HiveDesk to manage their workforce and projects. Time off is a feature that allows companies to manage employee time off or leave. Your manager will set up the leave types and policy to administer the leaves. Once this is set up, you can submit a time off request.
To do that, navigate to Requests under Time off in the left-hand navigation column.
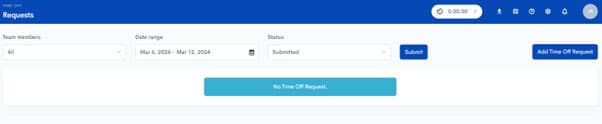
You'll see any existing time off requests you submitted earlier. To request a new time off, click the Add Time Off Request button.
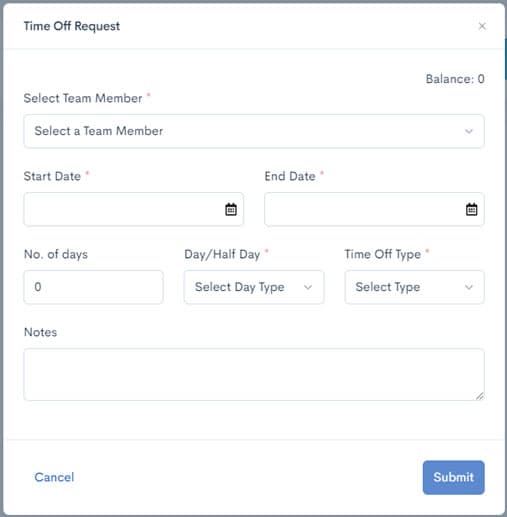
Select your name from the Team Member drop down list. Fill in the following details:
- Start and end dates
- Total number of days you want off
- Whether you want a full day off or half day
- Select the type of leave from the dropdown list
Click the Submit button to submit the time off request.
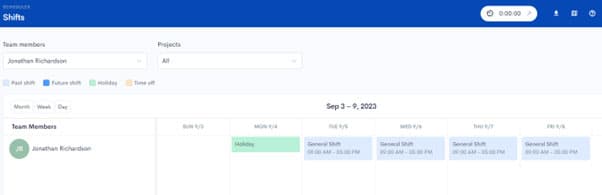
Viewing Your Work Schedule / Shift
You can see your work schedule or shifts you have been assigned by navigating to Shifts under Schedules in the left-hand navigation column.
Select your name from the Team members list and project name from the Projects list to see your work schedule. You can see the schedule by month, week, or day.
Viewing the List of Holidays
Click Holidays under Schedules in the left-hand navigation column.
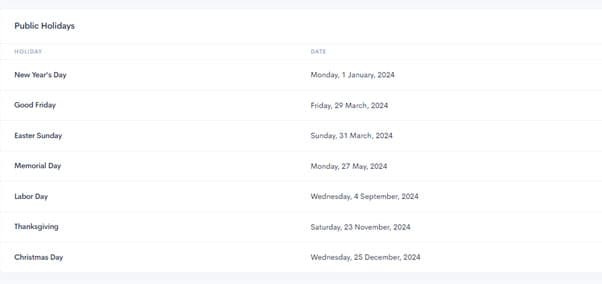
You'll see the list of holidays that your company has published.
Questions? We'll put you on the right path.
We have answers to frequently asked questions specific to team members. Check out our FAQs to learn more.