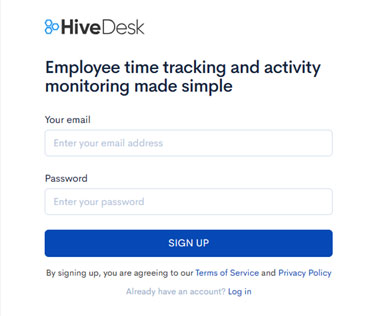
Choosing a plan and signing up
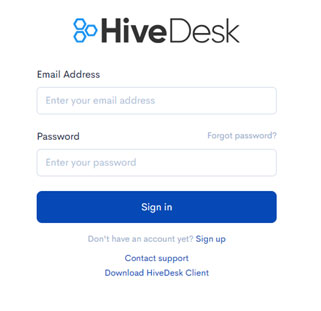
Logging into HiveDesk web application
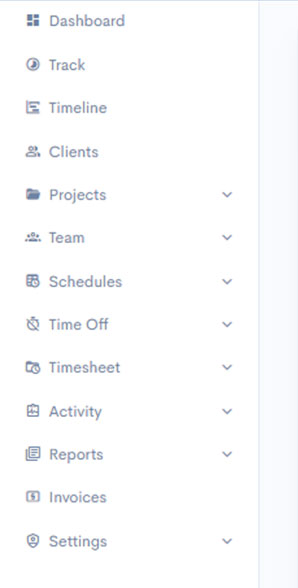
Getting started with HiveDesk
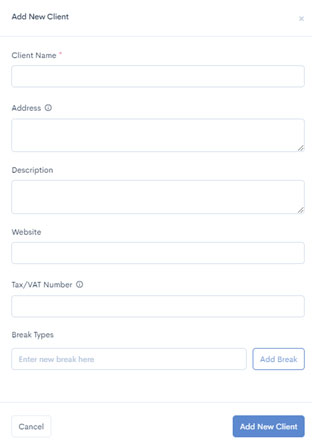
Adding clients
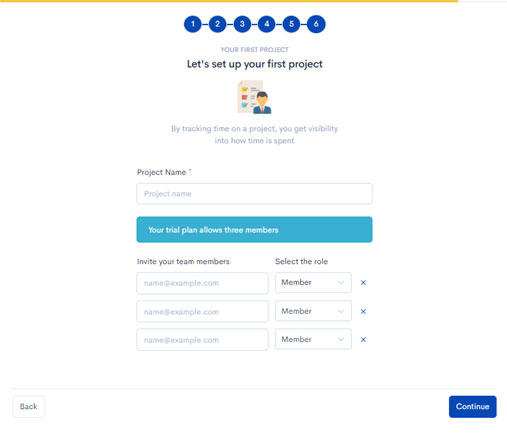
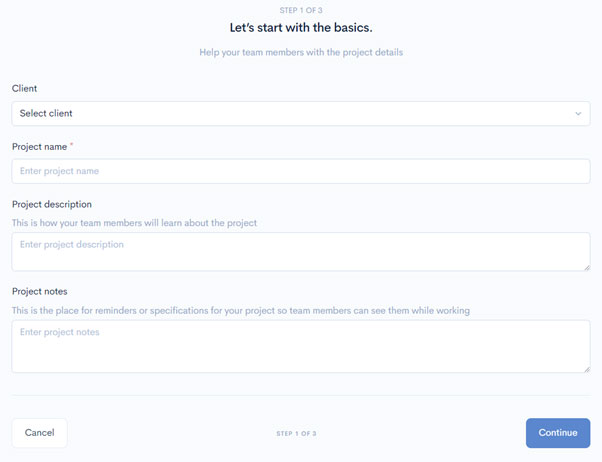
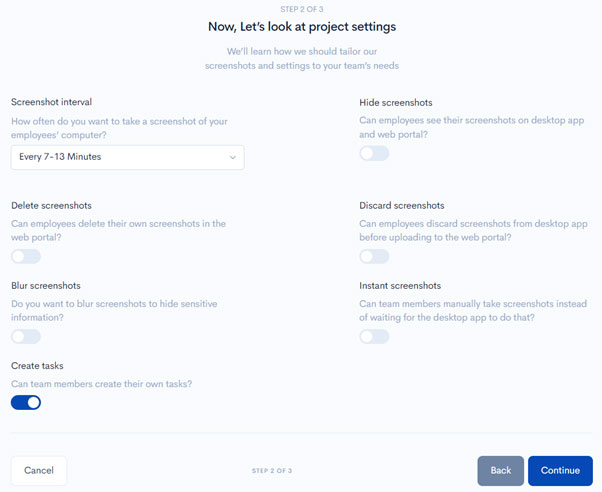
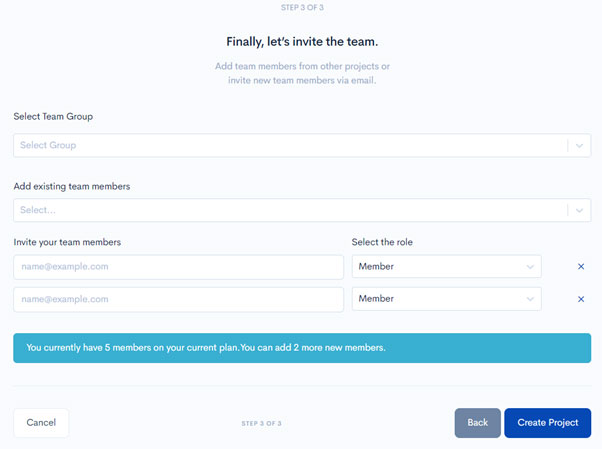
Creating projects and inviting team members
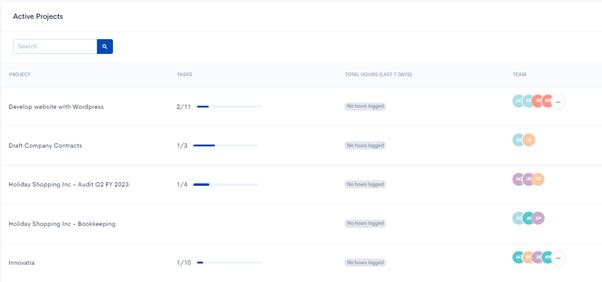
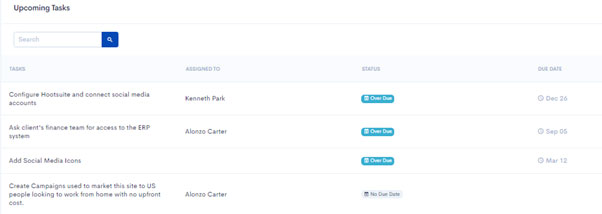
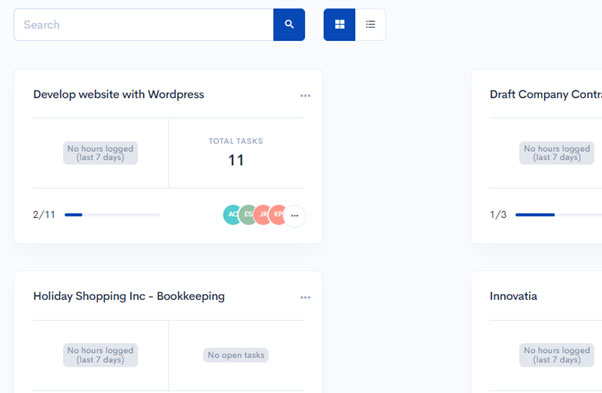
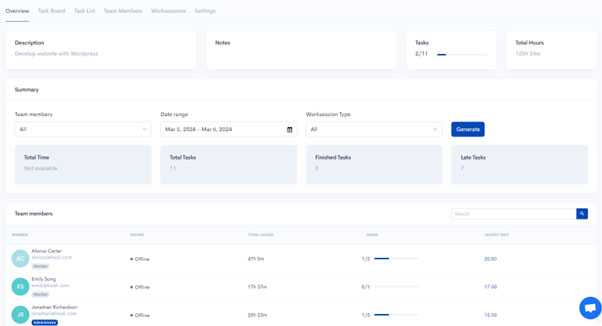
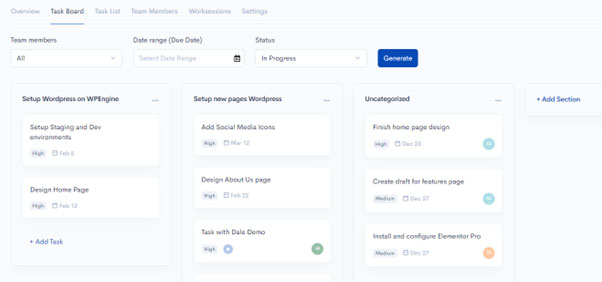
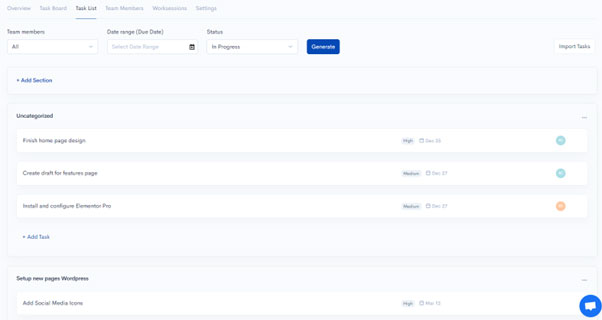
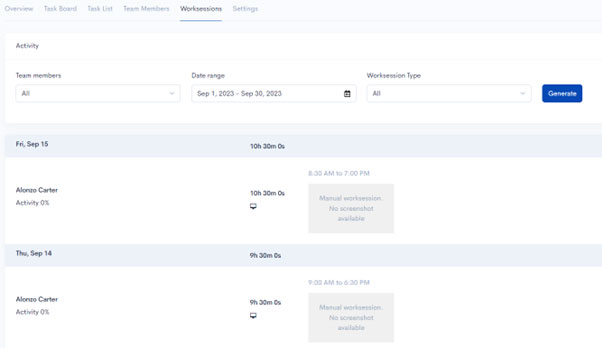
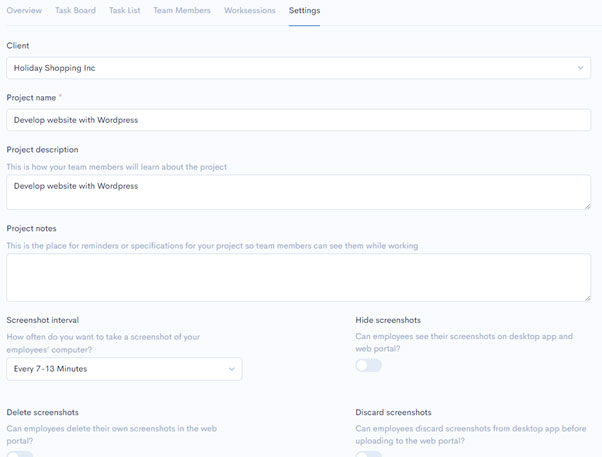
Managing projects
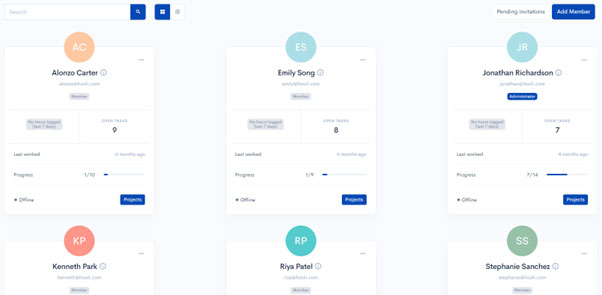
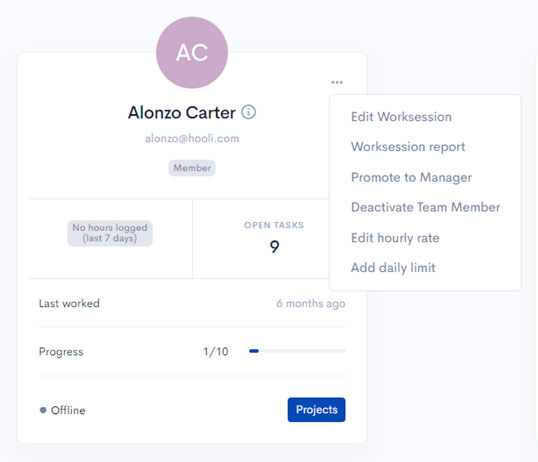
Managing Team Members in HiveDesk
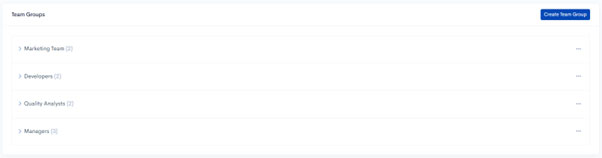
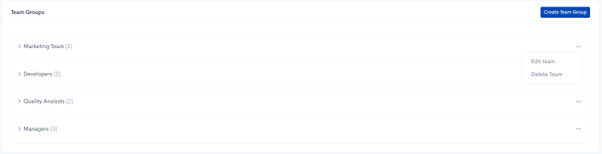
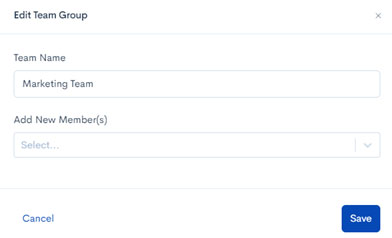
Managing Team Groups
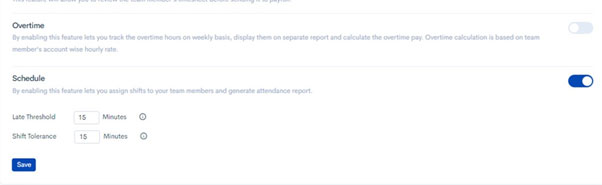
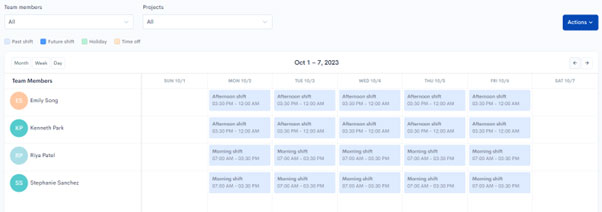
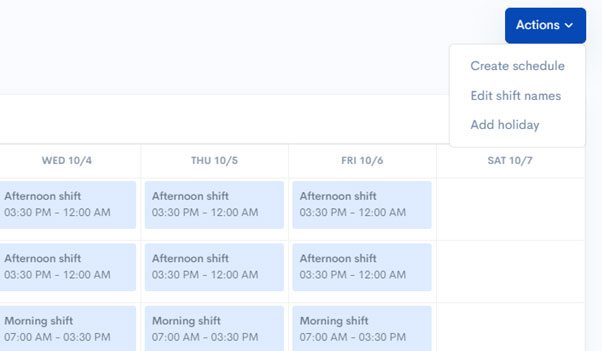
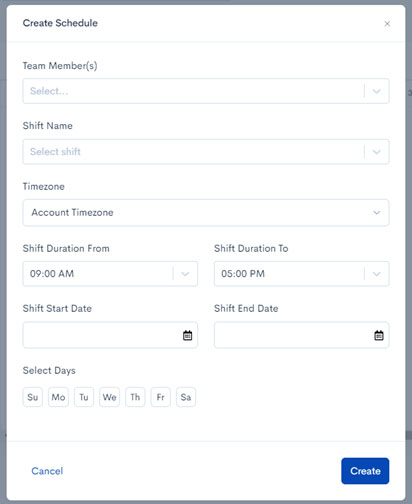
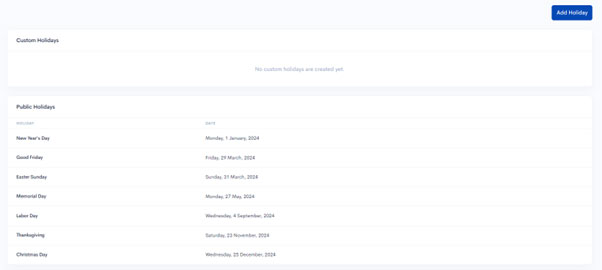
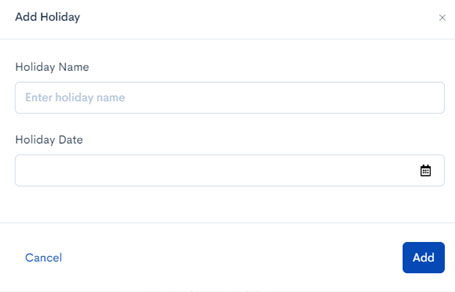
Creating and managing employee schedules, shifts, and holidays
Tracking employee attendance
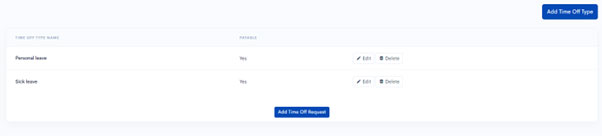
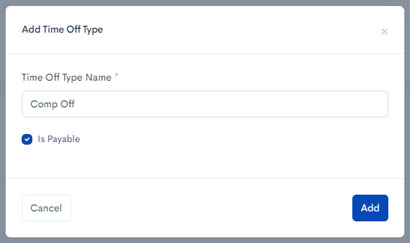
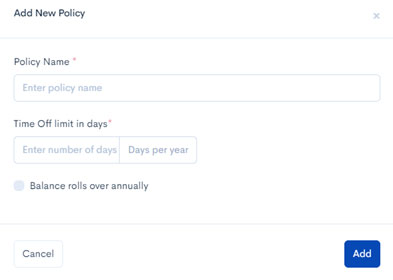
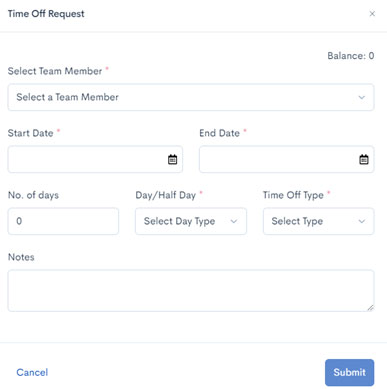
Managing Time off
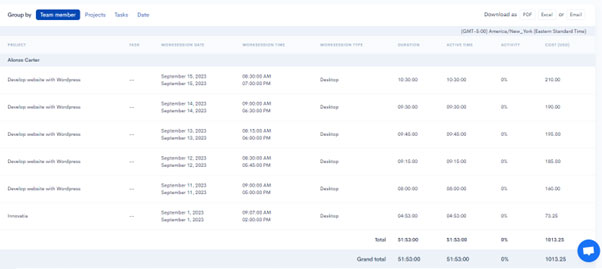
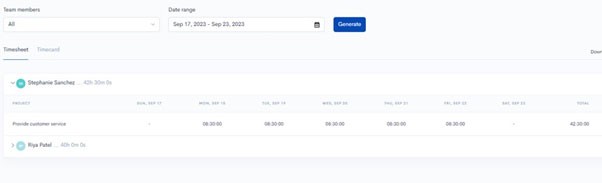
Managing Timesheets
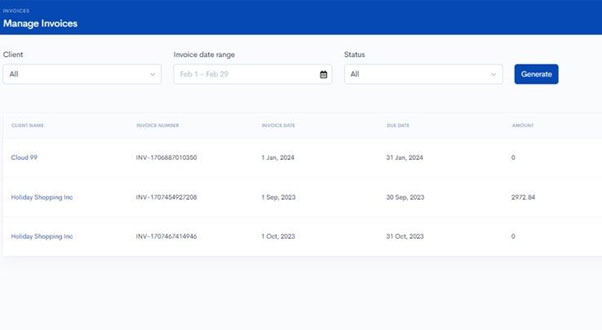
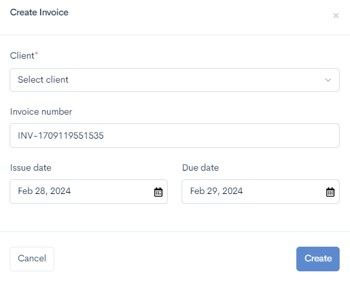
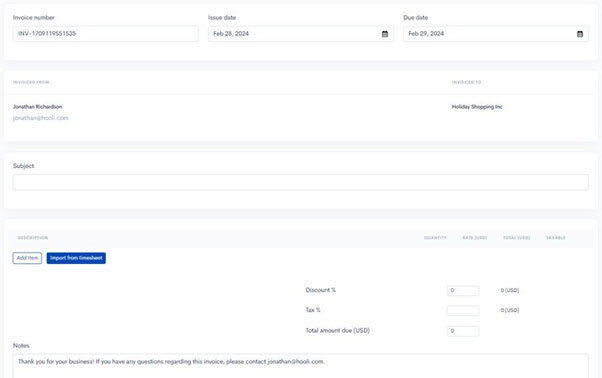
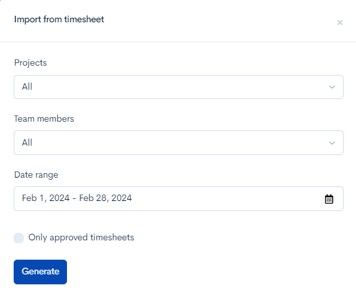
Creating Invoices
Choosing a plan and signing up
Logging into HiveDesk web application
Getting started with HiveDesk
Adding clients

Creating projects and inviting team members
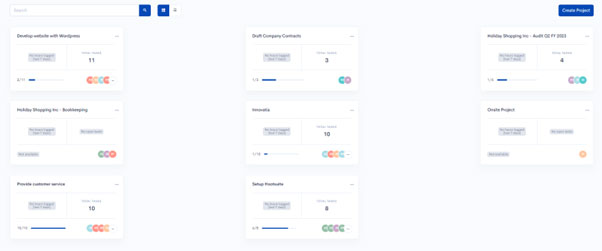
Managing projects
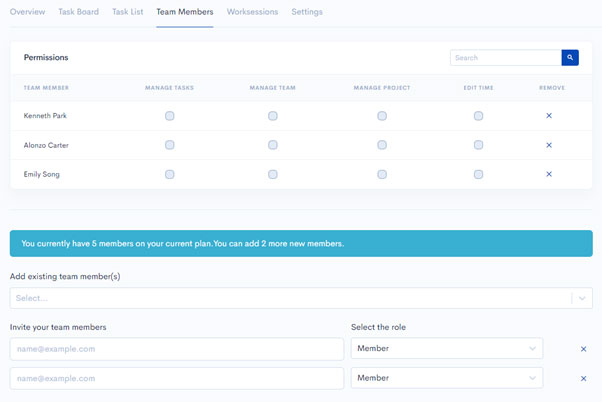

Managing Team Members in HiveDesk

Managing Team Groups

Creating and managing employee schedules, shifts, and holidays
Tracking employee attendance
Managing Time off
Managing Timesheets

Creating Invoices