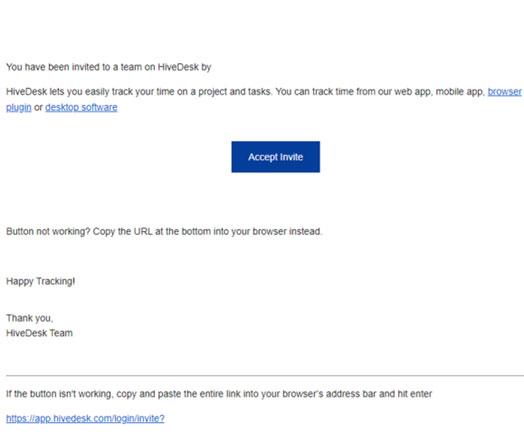
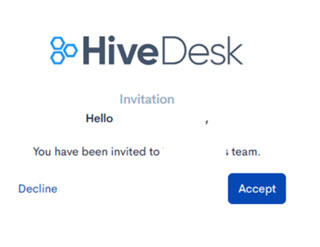
Creating team member account
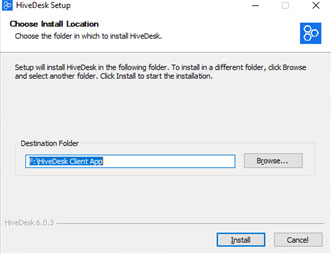
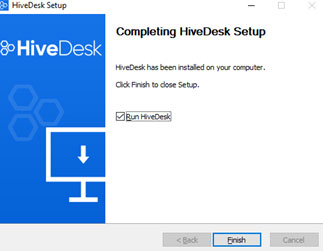
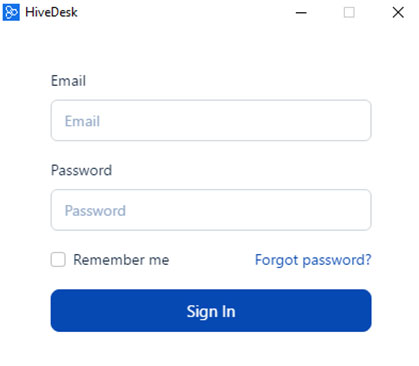
Installing HiveDesk application
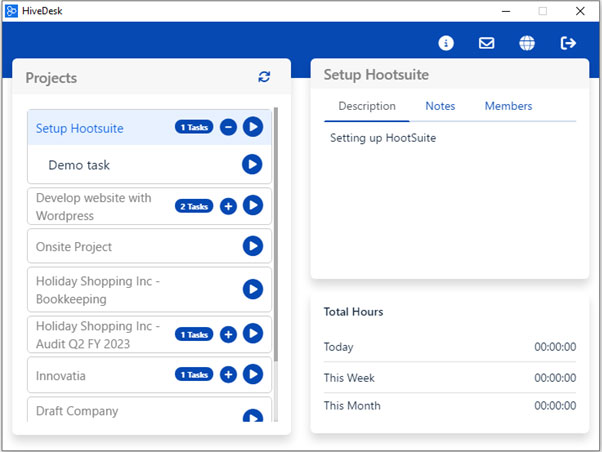
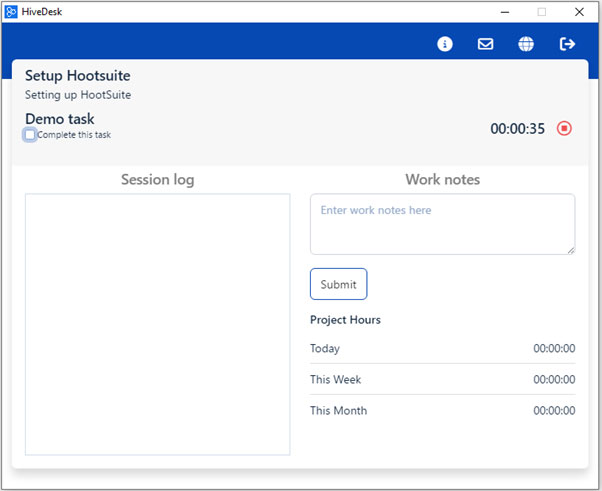
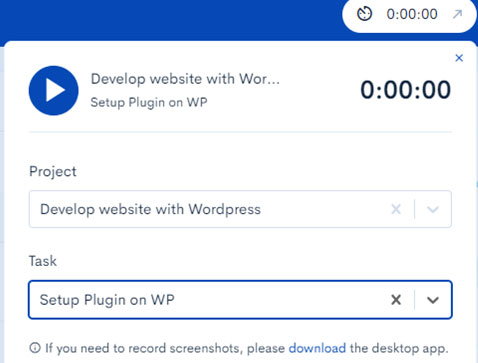
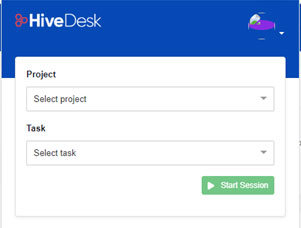
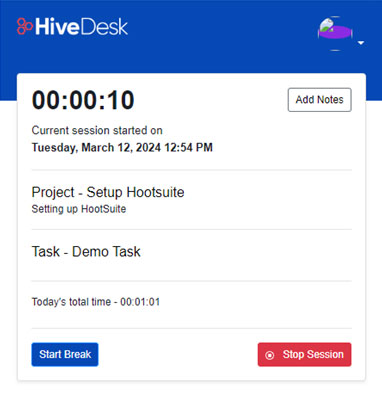
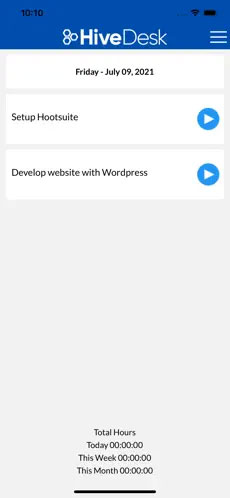
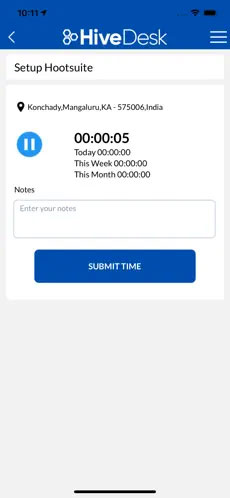
Tracking your time with HiveDesk
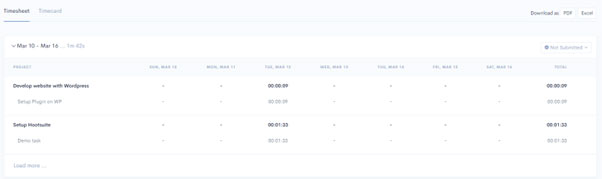
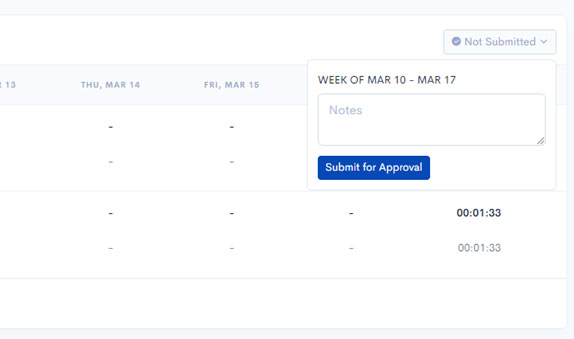
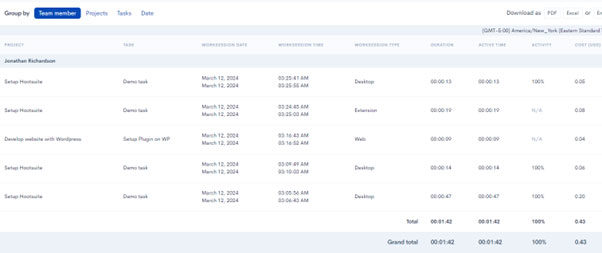
Viewing and submitting timesheet
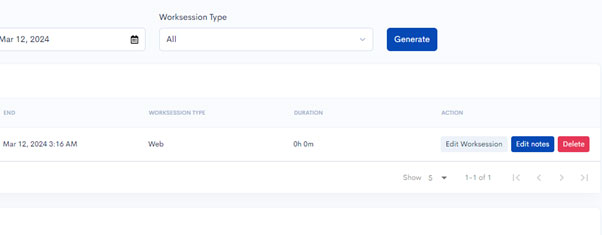
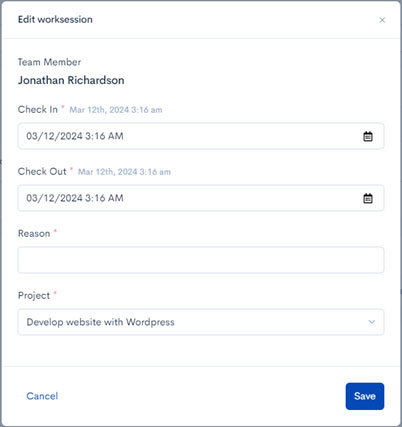
Editing worksession
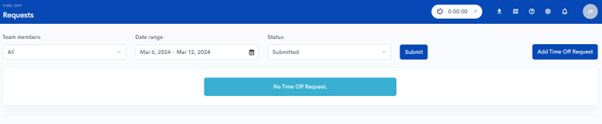
Applying for time off
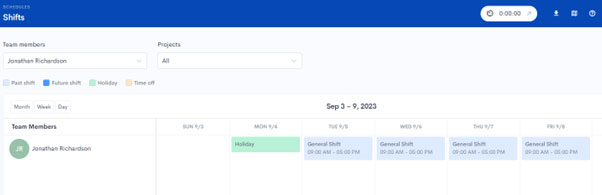
Viewing your work schedule/shift
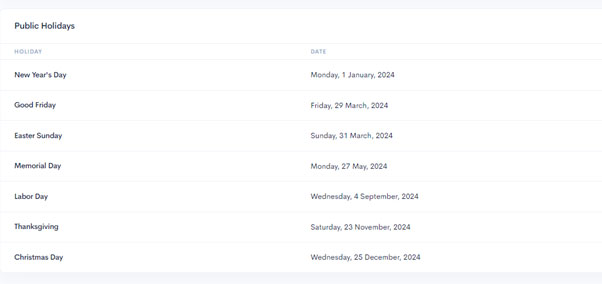
Viewing the list of holidays
Creating team member account
Installing HiveDesk application
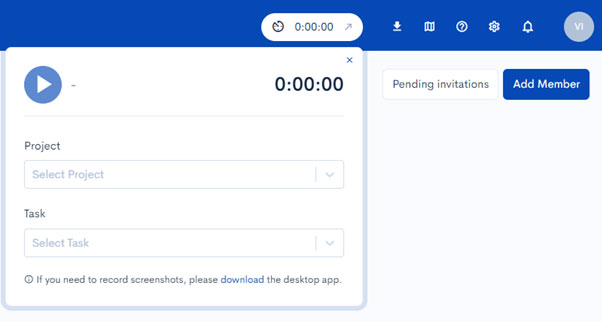
Tracking your time with HiveDesk
Viewing and submitting timesheet

Editing worksession
Applying for time off

Viewing your work schedule/shift
Viewing the list of holidays